knowledge-base

Step 10: API Setup and Integration

SanitizeEmail24 Dec 20255 min Read
features image

SanitizeEmail’s API allows you to validate emails automatically from your own systems, such as sign-up forms, CRMs, or internal tools. This step shows where to access your API key and how to get started at a high level.

For detailed implementation, examples, and endpoints, refer to the API Documentation.

What the API Is Used For

The API enables automated email validation without using the dashboard interface. Common use cases include:

  • Real-time email validation during sign-up
  • Preventing invalid emails from entering your database
  • Automating email validation in external systems

Accessing Your API Key

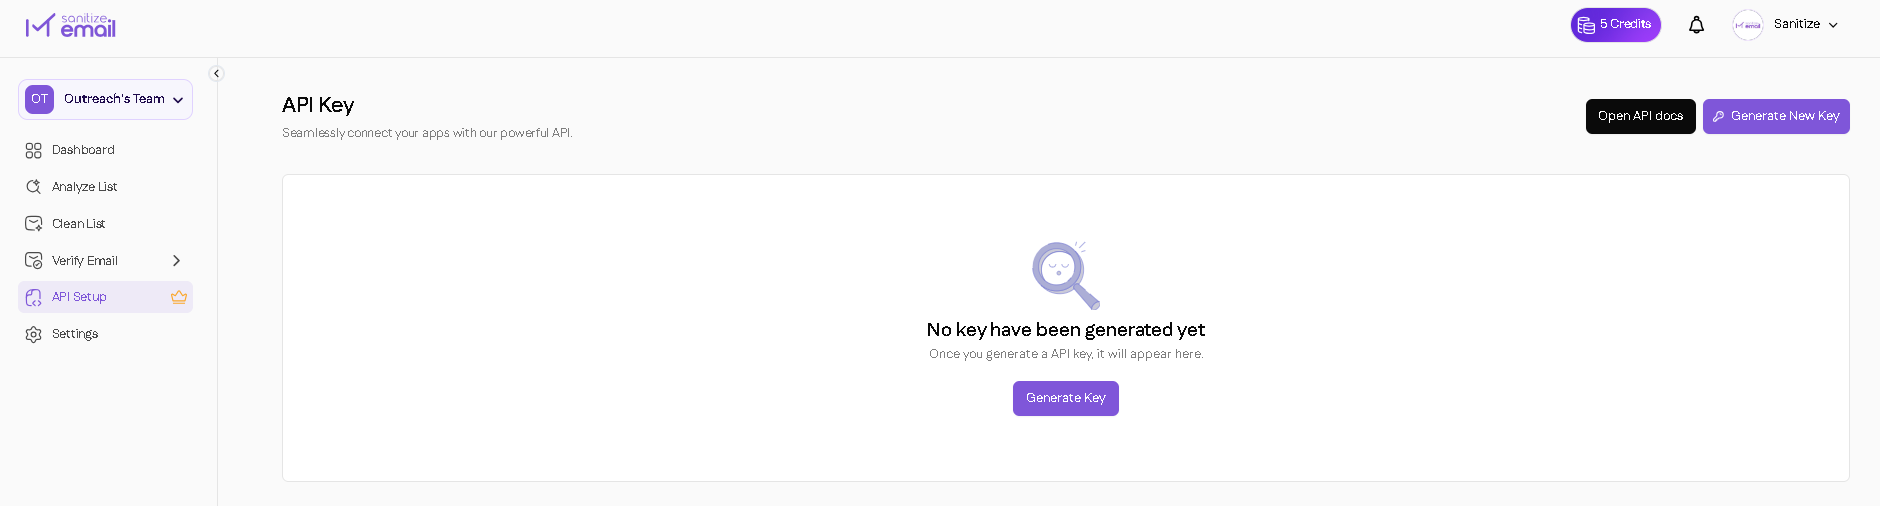
Your API key is available from the API Setup section in the dashboard.

From this page, you can:

  • View your existing API key
  • Generate a new API key
  • Copy your API key for use in integrations
  • Regenerate your API key if needed
API key integration

High-Level API Workflow

At a high level, using the API follows this flow:

  1. Copy your API key from the dashboard
  2. Choose the appropriate API endpoint
  3. Send email data along with your API key
  4. Receive validation results in JSON format
  5. Use the returned status in your system logic

This guide does not cover request formats or parameters.

When to Use the API

  • You want email validation to happen automatically
  • You are validating emails from external tools or applications
  • You need real-time validation instead of manual uploads

Next Steps

For full API details, including endpoints, request examples, and response fields, visit the API Documentation:

  • Authentication and rate limits
  • Single and bulk validation endpoints
  • Response status definitions
  • Integration examples